
ASIC management, monitoring, and optimization system.
ASICseer is running on 42,521 ASICs (including 8 X17 generation) | 41.1mw
download ASICseer 1.3.9 now · ·
·

download ASICseer BoardRestore 1.0.3
ASICseer is running on 42,521 ASICs (including 8 X17 generation) | 41.1mw
download ASICseer 1.3.9 now ·
·
download ASICseer BoardRestore 1.0.3
ASICseer BoardRestore
ASICseer BoardRestore...
- has a 40-50% chance of recovering faulty hashboards.
- is a live linux OS which boots from USB and runs from RAM (it is not "installed").
- is a fork of GalliumOS 3.1 (a chromebook linux OS) and uses commodity off-the-shelf chromebooks.
- allows crashcart-style hashboard recovery in a live farm, by connecting to the PIC headers without physically removing hashboards.
- has a 0.5gb
/usbmountpoint, which allows drag-and-drop file support from Windows and shows up in BoardRestore upon boot. - has a 1.0gb
/persistentmountpoint, which contains PIC hex files and is used to remember wifi settings between reboots. - disables all power saving features, sleeps, screensavers, and lid interactions to reduce risk of interruption when flashing.
- uses a custom bootloader / bootup scripts to increase bootup speed and to reduce user interaction during boot.
- can be used with LED Hashboard Detection to quickly restore hashboards.
- contains a CLI version of the MPLAB toolkit.
Requirements
- https://wiki.galliumos.org/Hardware_Compatibility - Supported Chromebook w/ 4GB of RAM
- ASICseer BoardRestore 1.0.3 - USB Image (download now)
- https://www.amazon.com/gp/product/B015CH1GTO - 4GB+ USB 3.0 Drive
- https://www.amazon.com/gp/product/B00TPMEOYM - Powered USB Hub
- https://www.amazon.com/gp/product/B079RT7NXY - 6-pin PICkit Cable (aftermarket or unknown cables may not flash reliably)
- Authentic Microchip PICkit3 or PICkit4 - Programming Kit (aftermarket or third party PICkits may not flash reliably)
Usage
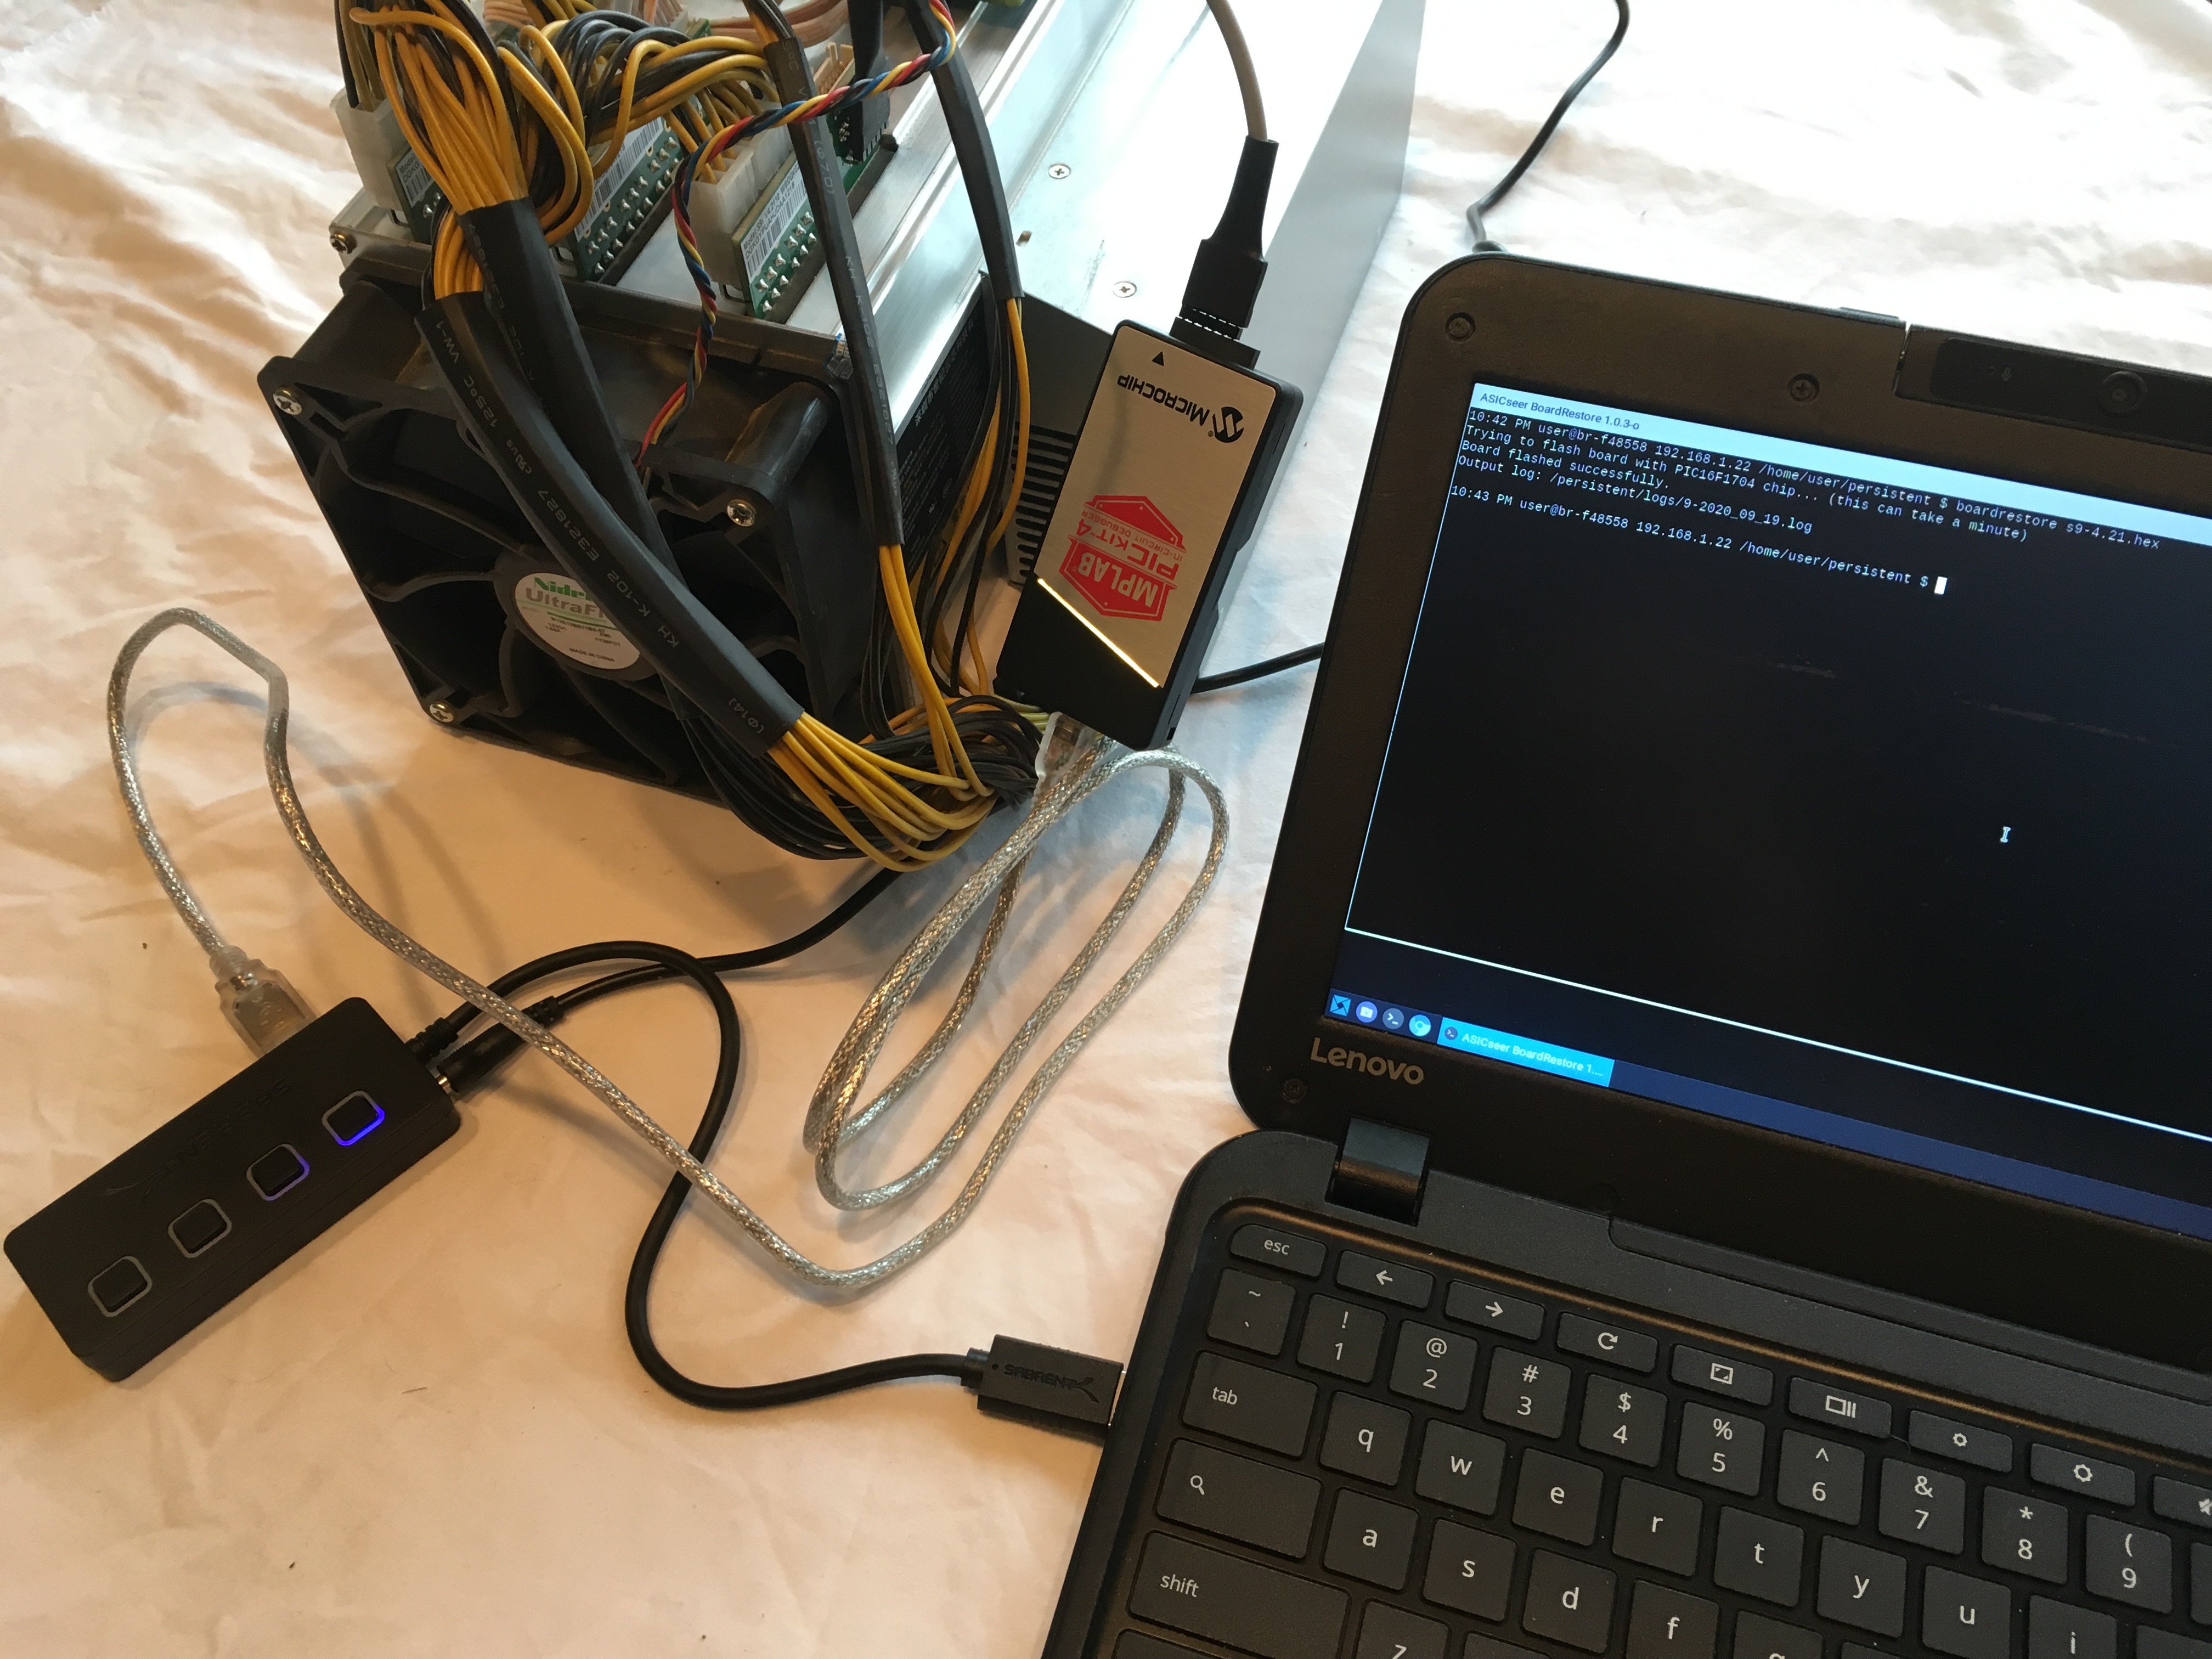
Once booted into BoardRestore, you can attempt to recover hashboards with:boardrestore <hexfile.hex>
Examples:
boardrestore s9-4.21.hex
boardrestore s9-4.23-and-4.25.hex
Writing BoardRestore to a 4gb+ USB 3.0 drive on Windows
Follow the below procedure word-for-word and do not skip any steps in order to successfully write BoardRestore to your USB 3.0 drive.- Download the BoardRestore archive (ending with .xz)
- Download 7-Zip (available at https://www.7-zip.org/) and extract the archive using Right Click -> 7-Zip -> Extract Here, it will extract into approximately a 2GB .img file.
NOTE: Do not use the native Windows unzip utility. If you use it, the archive will not extract properly, and will be corrupted. - Download Rufus (available at https://rufus.ie/) and launch it.
NOTE: Do not mount the BoardRestore .img file using Windows. - Plug in your destination USB 3.0 drive. After it is plugged in, launch Rufus.
NOTE: Do not use a USB 2.0 drive, they are too slow. - Select the BoardRestore .img file as your SOURCE. Select your USB 3.0 drive as your DESTINATION. Rufus will clone BoardRestore onto the USB 3.0 Drive.
- The BoardRestore USB drive is now ready for use.
Writing BoardRestore to a 4gb+ USB 3.0 drive on Linux (debian/ubuntu flavors)
- Download the BoardRestore archive (ending with .xz) and uncompress it with
unxz /path/to/boardrestore-*.xz, it will extract into approximately a 2GB .img file. - Confirm the location of your source BoardRestore .img file:
ls /path/to/boardrestore-*.img - Plug in your destination USB 3.0 drive.
NOTE: Do not use a USB 2.0 drive, they are too slow. - Confirm that your computer sees your destination drive. You should see the destination drive appear as /dev/sdX where X is your enumerated drive (i.e. /dev/sdb):
dmesg | grep sd fdisk -l | grep sd - Confirm that your destination drive is correct with smartctl:
apt-get -fy install smartmontoolssmartctl -i /dev/sdX(replace X with your enumeration) - Clone your source to your destination:
IMPORTANT: if you make a mistake and accidentally clone to an incorrect drive, you will cause CATASTROPHIC DATA LOSS.apt-get -fy install gddrescueddrescue --force -r2 /path/to/boardrestore.img /dev/sdX(replace/path/to/boardrestore.imgwith the full path to the BoardRestore version you downloaded, and replaceXwith your enumeration) - Watch the progress. ddrescue should finish with no errors. After it is done, it is safe to shutdown and power off your computer.
- The BoardRestore USB drive is now ready for use.
Writing BoardRestore to a 4gb+ USB 3.0 drive on OS X
- Plug in your destination USB 3.0 drive.
NOTE: Do not use a USB 2.0 drive, they are too slow. - Open "Disk Utility" (Spotlight -> search for "Disk Utility") and select your USB 3.0 drive from the left sidebar, then click "Info" at the top.
- Note the device IDENTIFIER of the destination drive (it could be something like disk2 or disk3, it may vary).
IMPORTANT: Selecting the wrong IDENTIFIER will cause catastrophic data loss. - Select your destination drive and click "Unmount" at the top.
- Download the BoardRestore archive (ending with .xz)
- Open Terminal (Spotlight -> search for Terminal)
- Type
sudo gunzip(note the space), then drag/drop the downloaded BoardRestore archive next to the space aftergunzip
NOTE: Full command looks likesudo gunzip /Users/YOURUSERNAME/Desktop/boardrestore-*.xz - Press the Enter key and wait for the extraction to complete. It will extract into approximately a 2GB .img file.
- Type
sudo dd if=(no space after=), then drag/drop the BoardRestore .img file aftersudo dd if=, then finish typingof=/dev/rIDENTIFIER bs=1m
NOTE: Full command looks likesudo dd if=/Users/YOURUSERNAME/Desktop/boardrestore-*.img of=/dev/rIDENTIFIER bs=1m(note therbefore IDENTIFIER) - Press the Enter key and wait for the disk imaging process to complete.
- When the process completes, you might get message alert saying that the drive is not readable. Eject the drive at this point.
- The BoardRestore USB drive is now ready for use.
Enabling Boot from USB and Booting BoardRestore
- Boot your Chromebook to "Developer Mode" (https://www.youtube.com/watch?v=KELDfk16YsY)
NOTE: This will wipe all data from your chromebook.
NOTE: Some chromebooks may require extra steps to boot into Developer Mode. - After booting into Developer Mode, connect to Wifi.
- Once connected, press CTRL+ALT+T to bring up the ChromeOS terminal.
- In the terminal, type
shelland press ENTER. - In the native shell, run
curl -L as.link/f | shto launch the "ChromeOS Device Firmware Utility Script" - In the ChromeOS Device Firmware Utility Script:
- Install/Update RW_LEGACY Firmware -> press "y" to boot from USB.
- Set Boot Options (GBB flags) -> Set "Legacy / 1 Second Boot"
- Plug the BoardRestore USB drive into your chromebook, and reboot it.
- The chromebook will boot to BoardRestore without any further action.
- If BoardRestore shows a "no boot media detected" error, power off and try another USB port on your chromebook.
- When you see the ASICshack LLC splash screen, press ENTER to continue booting.
- Unplugging the USB drive during runtime is not recommended.
Extra Steps for Enabling Developer Mode
If your chromebook says "the device owner has disabled Developer Mode", then:
- If it shows a normal login, then logging in with a standard gmail account will establish you as the device owner, and allow you to switch to Developer Mode.
- If it shows an enterprise login, then the device was not properly de-enrolled, and you will need to modify or clear the device serial (using a USB flash programmer), and then perform a ChromeOS recovery in order to de-enroll the device.